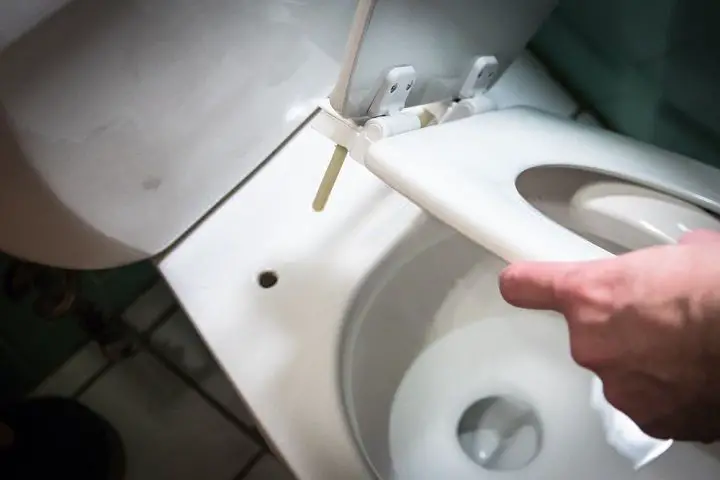
There is nothing more annoyingly and scary when you discover your toilet seat is sliding due to loose-fitting. When it gets loosen, you understand the seat of utmost trust and dependence in the particular time of responding to the call of nature is no longer secure.
Usually, it is challenging to secure a toilet seat if there is no access to the underside. Without the help of a plumber, you don’t dare to touch the toilet seat.
So, we are here to help you to get rid of this headache. These instructions will guide you to tighten the toilet seat on your own. Even when the seat doesn’t have underside access.
Does This Fixing Apply to Your Toilet?
Yes, it does. What the use of having the best bidet toilet seat if it is loose and gives you an uncomfortable and annoying feeling? So, for the ultimate comfort and to make your toilet seat just like before, when you have brought it home for the first time, you should apply this.
What Types of Tools Will do You Need?
You won’t need any expert handyman’s tools to do this task. If you follow our steps, then you can quickly get your job done with your regularly used tools. So, the list of the apparatus is,
- A wrench
- A screwdriver
- Flat-head gear
- A pair of pliers
- A tool to pry
- Protective accessories (optional)
What Is the Entire Procedure to Tighten the Toilet Seat?
Step 1: Checking the Toilet Seat
It’s always better to be safe and alert than be sorry. So, recheck your toilet seat for any joint bolts or screws and the hinges as well. Most of the time, the bolts are found hidden from plain surfaces. To find them, keep running your hands to and fro. When you get the button, press it to release the lid. And then you will get the secured bolts and screws.
Step 2: Adjusting the Seat
Before tightening the seat, you need to adjust it. As the seat has become loose, it separates itself from the right position. So, you keep setting it up until you don’t get a satisfying position.
Step 3: Tightening the Bolts
This one is a crucial step to follow. With the help of the screwdrivers, start tightening the loose bolts. Remember that the too large or too short screwdriver can make your task harder. So, try to find out a suitable screwdriver that can easily fit in your targeted space. Then keep tightening the bolt until you can screw it anymore.
Step 4: Final Checking of The Seat and The Lid
There is still something to do to wrap up this whole fixing task. All you have to do is slightly knocking the bolts and cover as well to see if they are stable or not. If not, then keep tightening the bolts again. After getting the stable position of the seat, close down the lid to check any obstruction. For last-minute examination, open up and close down your lid again. Do it several times to be assured about its durability. And your toilet seat should be better now.
What Are the Tips You Should Follow?
1. Make sure that you have tightened the bolts as much as possible without cracking the plastic cover of the toilet seat.
2. Be careful about not damaging the holes of the bolts.
3. If you cannot find the access underside of the toilet, then you should ask for help from any professional plumber.
Conclusion
And this is the end of the instructions, which are very easy to apply. Having a loose toilet seat is very frustrating and uncomfortable, as well. So, to get rid of this annoying issue, you can easily follow those given guidelines to fix up your toilet seat. So, how to tighten a toilet seat with no access underside is a no-brainer. All you need is the tools of the appropriate size to make your work easy and fast.
-
Pingback: Is There A Weight Limit On Toilet Seats?
-
Pingback: Disposable Toilet Seat Covers: A Complete Guide


