Although bathtubs are a place to relax during a shower, sooner or later, they will cause you headaches due to some common bathtub problems. For an extended lifespan of the bathtub, these issues are to be solved quickly.
Otherwise, you may require to replace your bathtub, which is definitely a costlier and painstaking task. Therefore, we came up with magic solutions to all your common bathtub fixation problems so that you can use your favorite showering place more conveniently.
How to Fix A Chipped Bathtub?

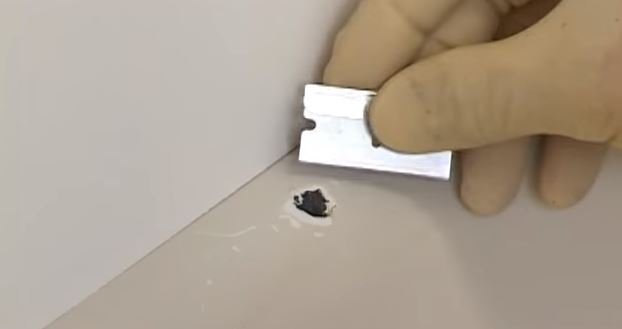
Bathtubs made with porcelain or high-quality fiberglass provide a stunning and eye-soothing look. However, they might chip due to various reasons. Nonetheless, you can repair chips in fiberglass tubs or porcelain tubs using products found around your home. These products are cheap and easy to apply.
- At first, completely dry the chipped so that the repair composite such glue can stick on the surface.
- Use 220-grade sandpaper to make the edges smooth. Be careful as you scratch the chipped area to avoid scratching the porcelain area.
- Now use cotton soaked in rubbing alcohol to clean the scratched area. Then, again, let the area dry for a few minutes.
- Mix a glossy alkaline-based paint with the repairing composite properly. Make sure that the color gets as nearer to the original porcelain color. For this, you will have to stir the mixture well.
- Use the head of an uneven knife to place a scoop of the paint on the chipped area. Slowly apply the color from the center to the edges.
- Let the paint sit for the next 12 hours and use cotton dampened with rubbing alcohol to polish the edges for perfect finishing.
How to Fix A Crack in A Plastic Bathtub?

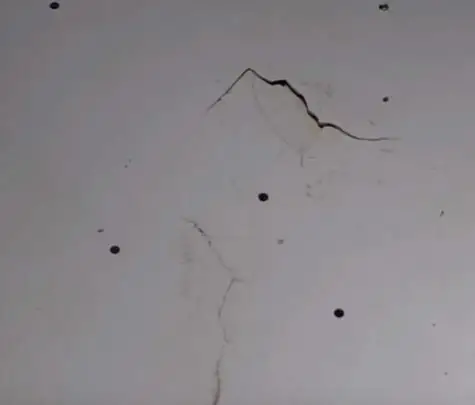
A plastic bathtub with ages might get cracked. However, these cracks are easily repairable.
- Clean and let the cracked area dry for the next 12-24 hours.
- Place fiberglass mesh to cover the cracks wider than ¼ inches. Make sure the mesh spreads more than half an inch on each side.
- Fix the mesh properly using a knife head and then prepare your filler according to manufacturer instructions.
- Now using a putty knife, apply the filler on top of the fiberglass mesh.
- Let the filler settle down on top of the mesh for the next few hours.
- Lastly, use sandpaper to smoothen the meshed area.
Bathtub Enamel Repair Trick
Bathtub enamels are beautiful to look at but sadly get damaged with the slightest scratch or rust. You need to repair them as soon as possible for an extended lifetime of the bathtub.
Rust removal
Sometimes it so happens that rust forms on the surface of a bathtub but hasn’t damaged the beneath. In those cases, remove the rust using a rust repair kit. You can get it in your nearest hardware shops and is extremely easy to deal with.
Rust repair kits are specially designed chemical compounds to remove the rust without damaging the enamel surface. However, instead of rust removi9ng kits, you may use a combination of lemon juice and salt.
Chips and crack repairing
If bathtub enamel gets chipped or cracked, that can be fixed at ease. For fixing minor chips, you may use touchup glazing kits. These are specialized glaze that matches enamel color without any fuss. On the other hand, for fixing more significant cracks, you will have to use epoxy.
In both cases, clean the area to apply the epoxy firstly and then touch up the glaze. Now allow it to sit on the surface for the next 12 hours. Then use light sandpaper to polish the edges carefully.
Note: If the bathtub enamel is severely cracked or damaged, it may require a total bathtub refinishing. Although it is cheap, it will require much preparation. Moreover, you will have to deal with toxic chemicals, so we appreciate consulting a professional in such cases.
How to Repair Large Holes in The Bathtub?
Bathtub often falls victim to large gaps due to various reasons. Fixing these holes can be a daunting task sometimes.
- At first, measure the size of the bathtub whole. Start by preparing the standard body filler in the hole.
- Now allow the filler to work for the next 6-12 hours at least. The time will depend upon the size of the hole.
- Now, use sandpaper to provide a perfect finishing of the filler. Lastly, use the same color as the bathtub body to paint the recently fixed cracked area.
Note: Holes measuring more than 4X4 can’t be repaired using body fillers. You should consult with a professional or change the entire bathtub in such cases.
Conclusion
The bathtub faces different issues over time. Luckily, most of them are fixable at home using simple DIY tricks at a cheap cost. So, we recommend you try to fix chips and cracks using simple fixing kits and to repair elements.
Nonetheless, the easiest way to keep bathtubs fit and fine is to take care of them so that cracks and fixes don’t occur at all.


I broke the set screw of of my bathtub faucet
Read this post. Stay connected with us.