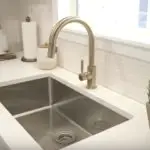
These days, granite countertop has become a fashionable trend for most kitchen décors. It not only adds durability but also with tons of color variations brings refreshing feelings into the kitchen. And a stainless-steel frame is preferable since it is suitable for most materials such as granite.
However, most kitchen users complain that their granite and stainless steel aren’t sealed to prevent humidity and water. So, we are going to discuss how to caulk a stainless steel kitchen sink as well as how to seal the kitchen sink to granite.
So, are you up for it?
How To Caulk A Stainless Steel Kitchen Sink
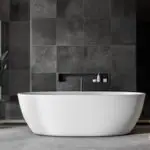
If you want to add a stainless-steel sink in the bathroom and also want to be durable, you must seal it. And you can do it caulk. The process is pretty straightforward, and so, you shouldn’t need any professional help. However, to accomplish the caulking, you will need the following things-

- Rubbing Alcohol
- Caulking Gun
- Rag
We recommend you use the Swan brand rubbing alcohol for the process. So, let’s start the journey.
Step 1
At first, you should prepare the countertop for sealing. It includes cleaning, disinfecting, and looking for any other manufacturer defects. Rubbing oil is the best solution to clean and disinfect the countertop. You will only need to dampen a clean cloth in rubbing alcohol and then use it to wipe out the debris from the countertop.
Step 2
Then measure the kitchen sink to ensure that you need to readjust the sink to the countertop size. Once you are sure about the proper measurement, move on to the next steps.
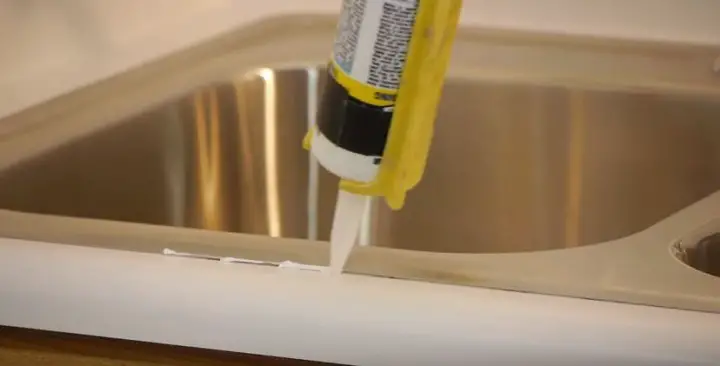
Start with the outline using the caulk where you want to position the sink. The best and most convenient way of outlining is to lift the stainless-steel kitchen sink using a wire. This way, the caulking gun will easily fit beneath the sink and help you to outline.
You will need to create at least ¾ inches caulk line with the caulking gun so that the kitchen sink will fit onto the countertop securely.
Step 3
It’s time to secure the kitchen sink. Depending on what type of kitchen countertop you have, you may need to attach nuts and bolts to fasten the sink.
But before that, you need to position the stainless-steel kitchen sink on the caulking carefully. To place the sink, apply slight pressure on it. Once you are fully confirmed that the sink is set correctly, you may move to the next step.
Step 4
Now, slightly move up the sink and check if there’s any place left without caulk. If so, use the caulking gun to apply caulk on those areas to ensure proper sealing that will last for an extended period.
Now, tighten the sink using a screwdriver to fasten the screws.
Step 5
While you set up the kitchen sink, some excessive caulk may come out from underneath of the tub. Use a cloth to clean the excess caulk. This should be a pretty easy task.
Step 6
Lastly, wait for the caulk to dry out. You may need anywhere between 24-72 hours to confirm that the sealing is appropriately done.
That’s it.
How To Seal Kitchen Sink To Granite
The sealing of the kitchen sink with granite countertop is identical to the stainless-steel kitchen sink caulking with other regular countertops. The experts from Hunker also describe the same, and if you are interested, you can go through it.

Once you clean the granite countertop with rubbing alcohol, apply the caulk for sealing with the caulking gun. You will have to move the sink slightly upwards for the caulking. Ensure that the sealing is ¾ inches deep to hold on to the sink correctly.
Once you rest assured about the proper caulking, place the kitchen sink in the sealed area. Then allow the caulk to sit in for the next 72 hours, and you are all set to use the sink.
Read more about How to Fix A Gurgling Kitchen Sink.
Isn’t the process seem easy?
Conclusion
The granite countertop is a sturdy one. Once you can seal your stainless-steel sink with it, you are confirmed to get a durable kitchen cleaning tool for the next few years to come.
So, don’t get bog down with the process. It’s pretty straightforward, and you shouldn’t face any difficulty. In case you don’t understand any parts of how to caulk a stainless-steel kitchen sink, you may reach us also.
-
Pingback: What Color Caulk to Use for Stainless Steel Kitchen Sink? - My Real Estate Key
-
Pingback: How to Measure a Kitchen Sink and Cabinets
-
Pingback: How to Connect Garden Hose to Outdoor Faucet
-
Pingback: How to Hook Up A Portable Dishwasher to A Pull-Out Faucet