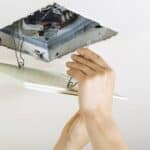
When it comes to assembling faucet parts neatly and tidy, most plumbers prefer using Allen screws. These screws are sturdy and easy to work with too. It is also easy to remove if the faucet needs some repair or replacement. However, when the screw gets stripped, removing it will become a real challenge for you.
Thus, many people eagerly and purposefully want to know how to remove a stripped Allen screw from the faucet. Well, without much ado, we are putting up the steps and instructions to remove the Allen screw from the faucet handle effortlessly.
How to Remove A Stripped Allen Screw from Faucet
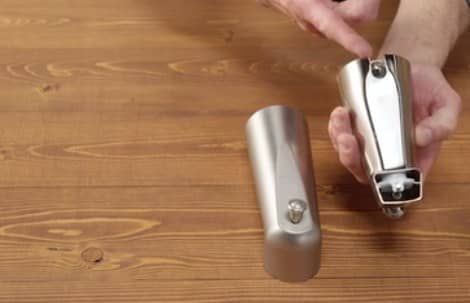
The screw removal is necessary if the valve needs some minor repair or an entire replacement. This necessity being said, you should use a screwdriver and hammer for the process. Also, the screwdriver should feature a Torx Head for better grip.
The details on how to remove a stripped set screw are instructed below-
Step 1: Assemble the Tools
You will need a few tools to remove the screw from the faucet. When you begin the screw removal process, these tools must be at your disposal and ready for use. The list includes-
- Drill bit
- Drill machine
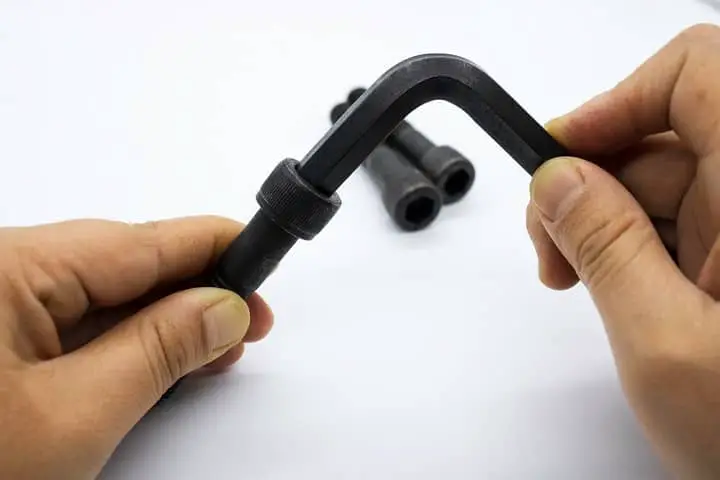
- Adjustable wrench
- Torx Head screwdriver
Step 2: Finding the Proper Screwdriver or Screw Extractor
The screw head of the faucet varies depending on the faucet size. Thus, you have to find the right screw extractor or screwdriver to correctly match the Allen screw head. If you have a screwdriver set, you will find multiple extractors or drivers inside it.
Each of these drivers comes with size labels. So, pick the screw extractor that best matches the screw head size. If you don’t have the driver set at home, you can still get the right screw extractor from online or hardware shops near you.
Step 3: Selecting the Right Drill Bit
Next, you have also to pick the right size drill bit. Also, remember that the drill bit must be of metal. Likewise, the screwdriver set, your power drill should come with an assorted drill bit set. You can quickly pick the right size from the box.
Also, these are easily gettable from the hardware shops. Lastly, choose the power drill machine and attach the drill bit with the screw head. The drill bit must be rightly placed at the center of the screw head so that it fits snuggly.
Otherwise, it might become loose and fall off from the screw head of the drill machine.
Step 4: Drilling A Pit
Now turn on the drill machine. Allow it to come to your desired speed and then, use it to drill a pit on the Allen screw. It should be 6.5mm in diameter. Once you have prepared the hole, slowly remove the drill bit from the pit inside.
You have to ensure that the hole size matches the screw extractor correctly. Otherwise, you can’t remove the Allen screw, and the hole will be a futile attempt.
Step 5: Insert the Extractor Inside the Hole
Once you have removed the drill bit and kept it in a safe place, hold the screw extractor firmly. Then, gradually insert it inside the hole you lately created. If you find it difficult to insert the extractor, use a hammer for the insertion purpose.
At times, the screw extractor might not fit inside the hole. The reason could be that the gap is not cut appropriately. Then, use the drill bit to make the pit a bit deeper. Then, insert and fix the screw extractor accurately in the pit on the Allen screw.
Step 6: Remove the Allen Screw
Now, attach the adjustable wrench with the screw extractor. Tighten the wrench and then turn it in the anticlockwise direction. As you twist and turn the wrench set, the stripped Allen screw will start coming out of the faucet.
Continue turning the adjustable wrench set until the Allen screw comes out altogether from the faucet. Alternatively, you can use the pliers set for the process.
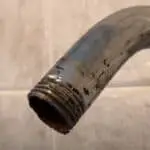
How to Remove A Stripped Screw From A Shower Faucet
If you have to remove a stripped set screw from the shower faucet, you should wrap it with a cloth piece. It helps to retain the faucet shine without damaging it. Also, you can use a rubber band. It creates a firm grip on the stripped set screw.
Use a flathead screwdriver or wrench set over the rubber band or piece of cloth and twist it to remove the stripped set screw from the shower faucet. Alternatively, you can use the screw extractor with the wrench set.
Conclusion
When you have the right sized screw extractor and driver set, the steps to remove an Allen screw from the faucet becomes easy and comfy. Thus, this instruction on how to remove a stripped Allen screw from faucet should benefit you.
You won’t have to call for any plumbers’ help and cost money for such screw removal and faucet repair process once you read these instructions correctly and follow the steps.
-
Pingback: How to Remove A Stripped Screw from A Shower Faucet